Why is a picture worth a thousand words? Because it can tell a story that written content alone cannot. An image can capture a moment, an emotion, or a feeling in a way that words cannot always convey. In order to create truly effective content, you need to use both images and writing to fully engage your audience.
Think about it this way: when you scroll through social media, what catches your eye? Is it the posts with just writing? Or is it the posts that have a mixture of images and text?
Most likely, it’s the latter. Images are more likely to grab attention and stop someone in their scroll. But once you have their attention, you need to keep them engaged with well-written content.
So if you want your content to be truly effective, you need to use a mix of images and writing. Only using one or the other is not enough in today’s digital world. Both are necessary to engage users and create truly effective content.
Adding images to your content can help improve engagement and comprehension. In this step-by-step guide, we will show you how to create images that are both effective and visually appealing. By following these simple tips, you can create images that will help your readers understand and engage with your content.
How To Create Images For Your Content?
Creating a strong-featured image for your blog can be the difference between someone clicking through to read your content or bouncing off to something else. You want to make sure your image is on point and represents what the blog post is about while also promoting your brand aesthetic.
Here are some tips on creating an amazing featured image:
1. Find background images.
A picture is worth a thousand words, and this is especially true when it comes to content marketing. The right image can help to capture the attention of potential readers and give them a taste of what your article is about.
At the same time, a poorly chosen image can turn people away from your article before they even begin reading. So how do you choose the right image for your content?
One option is to hire a professional photographer or graphic designer to create custom images that reflect your brand. This can be an expensive option, but it may be worth the investment if you want your content to stand out from the rest. Alternatively, you can use a photo editor like Picsart to find and edit existing images. With Picsart, you can search for royalty-free images and make basic edits to suit your needs.

If you don’t have the budget to hire someone, don’t worry – there are still plenty of options available to you. You can find free stock photos from sites like Unsplash and Pexels, or even create your own images with a program like Canva. Just make sure that you’re using high-quality images that are relevant to your blog post topic.
Your featured image is an important part of your blog post, so make sure you choose wisely! With a little bit of effort, you can find or create the perfect image to compliment your article.
2. Use an image creator.
Many people believe that they need expensive software to create beautiful graphics. However, there are a number of free image creation tools available online, the most popular being Canva. Canva offers users the ability to select the size of the graphic they want to create, making it perfect for a variety of platforms.
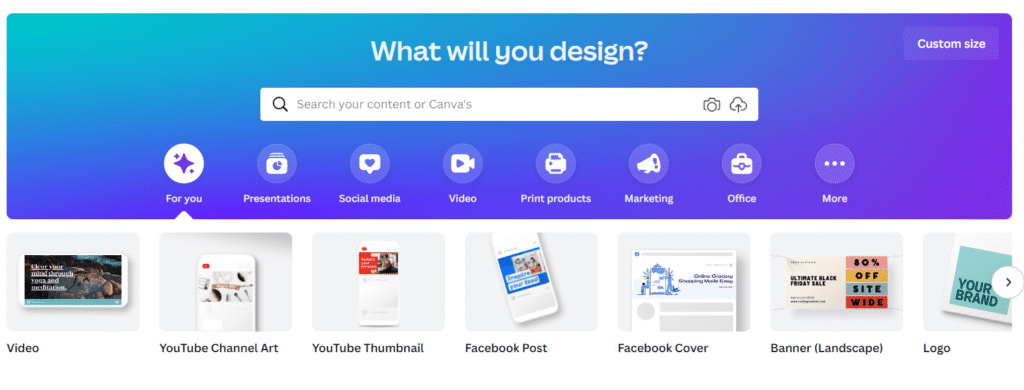
Additionally, Canva makes it easy to add text, images, logos, shapes, and other design elements. Plus, you can even drag and drop images right into the web browser for added convenience! Whether you’re a professional designer or just starting out, Canva is a great option for creating stunning visuals.
3. Include the title.
Most people are visual learners, so it’s no surprise that images are some of the most important elements on a website or blog. And while it’s important to have high-quality images, it’s equally important to make sure those images are serving a purpose.

Simply put, most people won’t click on an image if it’s just a picture. They’re clicking on the picture because they want to get more information, like in your blog or article. So, how do you make sure they stick around? One way is to include the title of your blog post in the actual featured image.
This helps put the visual in context while starting the conversation about the topic at hand. Not only does this help grab attention, but it also helps with SEO.
4. Keep your specs the same.
Registering an account with Canva or another image creation tool is a great way to save your designs and create a consistent brand aesthetic. Once you have the aesthetic you like, use that design as a template for every image.
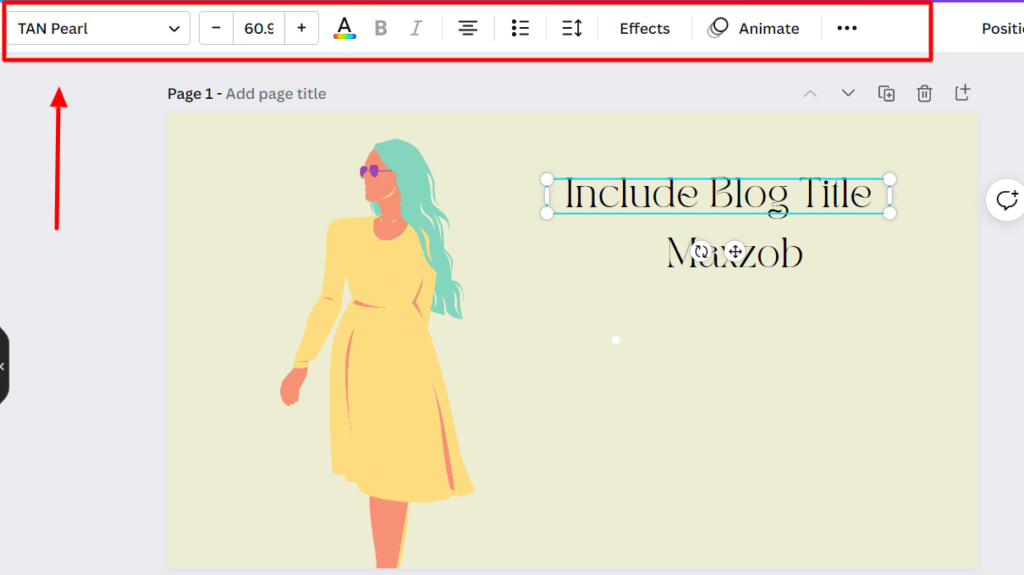
This kind of consistency is what builds a brand aesthetic. We also recommend writing down your specs in a separate document, just in case something happens with your account.
Take note of the color codes, fonts, and sizes that you use. By following these simple steps, you can ensure that your brand always has a cohesive look and feel.
If you are looking to create your perfect website, you can our Elementor discount for the latest offers. Elementor is one of the best website builders in the market.
5. Add your logo.
Whether you’re sharing an image on social media or using it in an email marketing campaign, it’s important to include your business logo or name somewhere on the image. This helps to ensure that your image is properly attributed and provides a way for people to learn more about your business.
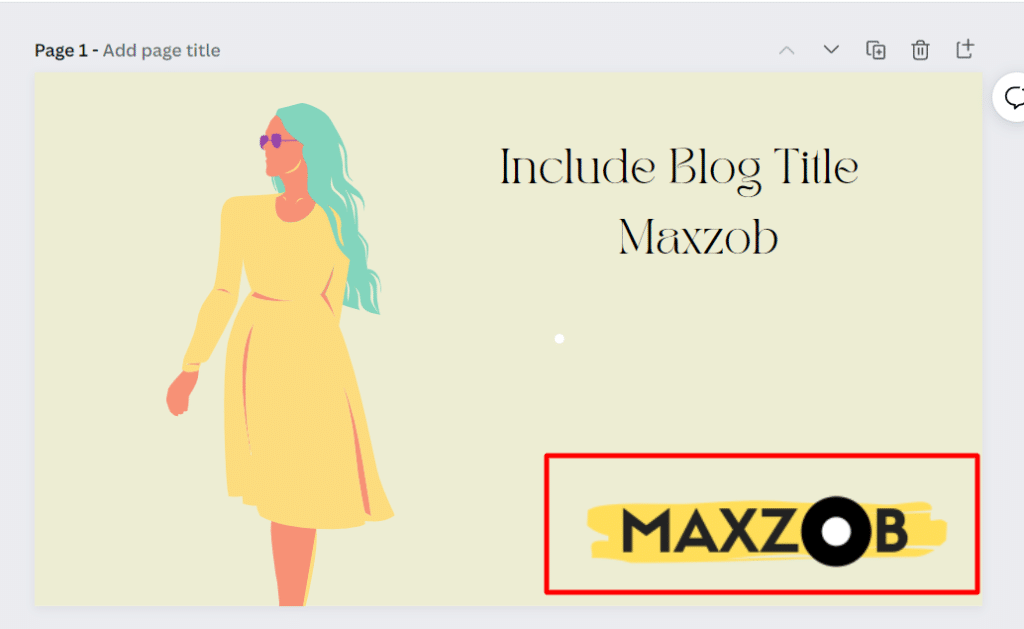
While you want your logo to be visible, it’s also important to use a version with a clear background so that it doesn’t look out of place. By following these simple tips, you can help to spread brand awareness and build goodwill with your audience.
6. Create a thumbnail and featured image.
If you’ve created a title image, it should go at the top of your article above the fold. This ensures that readers will see the image as soon as they land on the page.

Whether someone has clicked through to the blog through the image or they came through another avenue, including a titled visual at the top promotes instant engagement and encourages them to keep reading.
You’ll also want to upload that same image as the thumbnail for your blog. This is especially important if you have a blog or resource library.
That way, when people are scrolling through, your blog will stand out with a strong visual. Not only will this help people recognize your blog more easily, but it can also help you build brand recognition.
7. Share the image on social media.
Creating compelling visuals is only half the battle – you also need to make sure you’re putting them in front of the right people. One of the best ways to get more mileage out of your visuals is to share them on social media, along with a link back to your website or blog.
This helps to drive traffic to your site and keeps people engaged with your brand. And, since you’ve already expended the resources to create the visuals, there’s no reason not to use them again and again. So don’t be afraid to reuse your images – they’re one of your most powerful tools for driving traffic and engagement.
Conclusion:
Images are a powerful way to communicate information and engage readers. In this guide, we’ve shown you how to create images that are both effective and visually appealing.
By following our simple tips, you can create images that will help your readers understand and engage with your content. Have you tried using images in your own content? What results did you see? Let us know in the comments below!